TA的每日心情 | 奋斗
2016-4-25 13:46 |
|---|
签到天数: 1 天 连续签到: 1 天 [LV.1]初来乍到
|
motor shield 是Arduino控制器兼容的电机驱动扩展板,让motor shield 成为pcDuino的电机扩展板,在pcDuino开发应用平台上快速上手,操作步骤如下:
一、在protol Shield上的线路连接


二、线路连接好之后,打开LXTerminal,进入目录


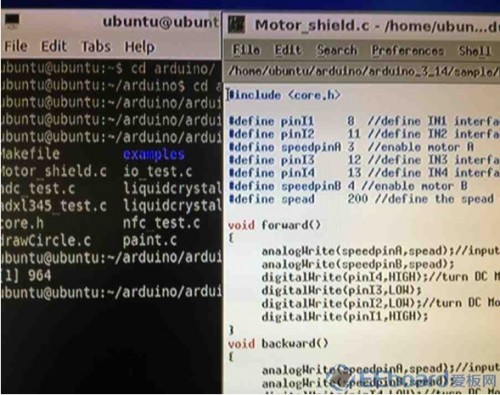
三、输入命令,打开代码
四、代码打开成功之后,输入make进行编译,出现可执行文件
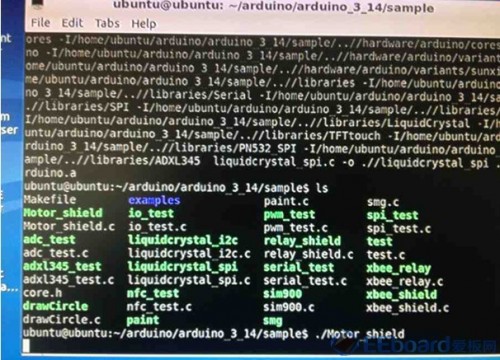
五、运行代码,成功之后电机转动


代码:
#include <core.h>
#define pinI1 8 //define IN1 interface
#define pinI2 11 //define IN2 interface
#define speedpinA 3 //enable motor A
#define pinI3 12 //define IN3 interface
#define pinI4 13 //define IN4 interface
#define speedpinB 4 //enable motor B
#define spead 200 //define the spead of motor
void forward()
{
analogWrite(speedpinA,spead);//input a simulation value to set the speed
analogWrite(speedpinB,spead);
digitalWrite(pinI4,HIGH);//turn DC Motor B move clockwise
digitalWrite(pinI3,LOW);
digitalWrite(pinI2,LOW);//turn DC Motor A move anticlockwise
digitalWrite(pinI1,HIGH);
}
void backward()
{
analogWrite(speedpinA,spead);//input a simulation value to set the speed
analogWrite(speedpinB,spead);
digitalWrite(pinI4,LOW);//turn DC Motor B move anticlockwise
digitalWrite(pinI3,HIGH);
digitalWrite(pinI2,HIGH);//turn DC Motor A move clockwise
digitalWrite(pinI1,LOW);
}
void left()
{
analogWrite(speedpinA,spead);//input a simulation value to set the speed
analogWrite(speedpinB,spead);
digitalWrite(pinI4,HIGH);//turn DC Motor B move clockwise
digitalWrite(pinI3,LOW);
digitalWrite(pinI2,HIGH);//turn DC Motor A move clockwise
digitalWrite(pinI1,LOW);
}
void right()
{
analogWrite(speedpinA,spead);//input a simulation value to set the speed
analogWrite(speedpinB,spead);
digitalWrite(pinI4,LOW);//turn DC Motor B move anticlockwise
digitalWrite(pinI3,HIGH);
digitalWrite(pinI2,LOW);//turn DC Motor A move clockwise
digitalWrite(pinI1,HIGH);
}
void stop()
{
digitalWrite(speedpinA,LOW);// Unenble the pin, to stop the motor. this should be done to avid damaging the motor.
digitalWrite(speedpinB,LOW);
delay(2000);
}
void setup()
{
pinMode(pinI1,OUTPUT);
pinMode(pinI2,OUTPUT);
pinMode(speedpinA,OUTPUT);
pinMode(pinI3,OUTPUT);
pinMode(pinI4,OUTPUT);
pinMode(speedpinB,OUTPUT);
}
void loop()
{
left();
delay(2000);
stop();
right();
delay(2000);
stop();
forward();
delay(2000);
stop();
backward();
delay(2000);
stop();
} |
|


 发表于 2013-6-24 19:09:57
 /2
/2 
