TA的每日心情 | 奋斗
2019-10-1 12:54 |
|---|
签到天数: 313 天 连续签到: 1 天 [LV.8]以坛为家I
|
下面介绍使用BPI-M2 Zero连接LCD1602(I2C)打造网络自动对时的数字日历时钟的方法
首先将BPI-M2 Zero开发板的SDA SCL连接到I2C接口的LCD1602的SDA SCL(下图的PIN3 PIN5),然后将LCD1602的VCC GND连接开发板的PIN2 PIN6

从上图可知开发板的上面接口为I2C1,但是实际测试在ARMBIAN中显示为I2C0,安装如下组件- sudo apt-get install i2c-tools python-smbus

输入下面命令打开I2C-0


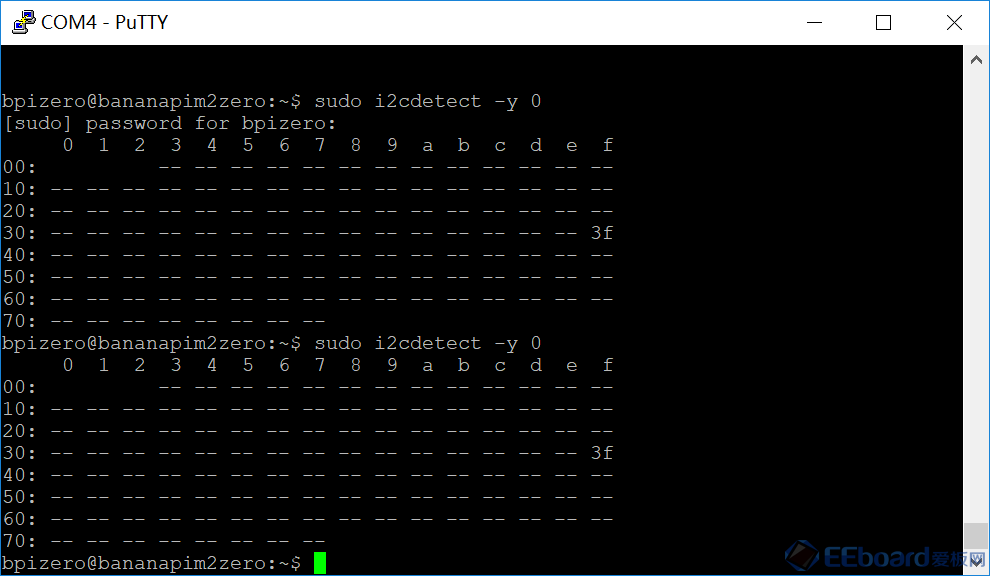
保存后重启,然后输入下面命令查看I2C地址

创建python脚本lcd-clock.py,输入下面代码- import smbus
- import time
- import os
- from time import gmtime, strftime, localtime
- os.environ['TZ'] = 'Asia/Shanghai'
- time.tzset()
- bus = smbus.SMBus(0)
- addr = 0x3f
- def writeCommand(command):
- bus.write_byte(addr, 0b1100 | command << 4)
- time.sleep(0.005)
- bus.write_byte(addr, 0b1000 | command << 4)
- time.sleep(0.005)
- def writeWord(word):
- for i in range(0,len(word)):
- asciiCode = ord(word[i])
- bus.write_byte(addr, 0b1101 |(asciiCode >> 4 & 0x0F) << 4)
- time.sleep(0.0005)
- bus.write_byte(addr, 0b1001 |(asciiCode >> 4 & 0x0F) << 4)
- time.sleep(0.0005)
- bus.write_byte(addr, 0b1101 |(asciiCode & 0x0F) << 4)
- time.sleep(0.0005)
- bus.write_byte(addr, 0b1001 | (asciiCode & 0x0F) << 4)
- time.sleep(0.0005)
- # init
- writeCommand(0b0010)
- # 4-byte mode, 2 line code
- writeCommand(0b0010)
- writeCommand(0b1111)
- # set cursor mode
- writeCommand(0b0000)
- writeCommand(0b1100)
- # cursor shift mode
- writeCommand(0b0000)
- writeCommand(0b0110)
- writeWord("Welcome")
- clear = True
- time.sleep(1)
- while(1):
- # first line first column
- writeCommand(0b1000)
- writeCommand(0b0000)
- writeWord(strftime("%Y-%m-%d, %a ", localtime()))
- # second line first column
- writeCommand(0b1100)
- writeCommand(0b0000)
- writeWord(strftime("%H:%M:%S", localtime()))
- time.sleep(0.2)


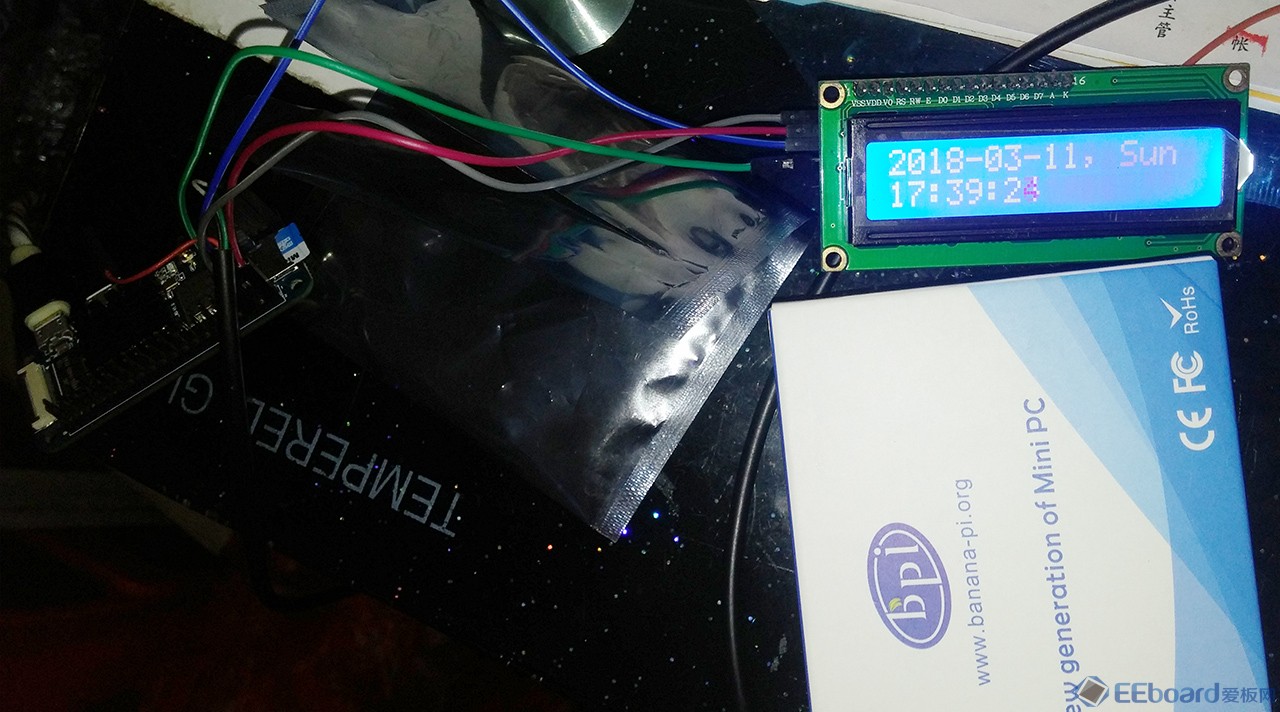
运行显示效果如下

|
|
 /2
/2 
 /2
/2 