|
This tutorial will teach you the basics of installing Apache Web Server on the Raspberry Pi and you will create a simple HTML page to verify that the page will being delivered to the client using a web browser. To install the apache web server, which is also known as apache2 can be installed using the following commands. $ sudo apt-get install apache2 When the installation is complete enter the following command. $ cd /var/www And list the file contents by entering ls at the command prompt. $ ls index.html This directory is used for files that you want to serve up using Apache2 and the index.html file is one of the default files that Apache will display when accessing the server.
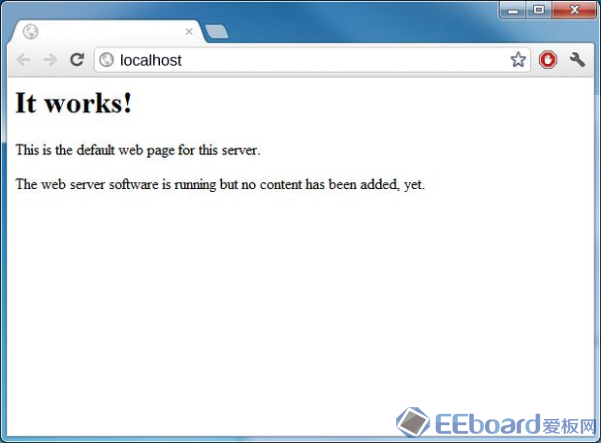
Log into the Raspberry Pi desktop and open a web browser. In the web address bar enter the following. http://localhost This will retrieve the index.html file and display something similar to this.

The Apache web server is now up and running. To confirm that additional HTML pages can be added we will create an html page and store it in the /var/www directory. Open a terminal window and enter the following commands. $ cd /var/www $ sudo nano mypage.html When nano opens enter the following basic html code <html> <head> <title>This is my Raspberry Pi Page</title> </head> <body>This is where the action happens</body> </html> Save this file by holding down CTRL-X. Nano will prompt you to save the file. Open a web browser and in the address bar enter http://localhost/mypage.html You will see a web page with the content being displayed.
|  /2
/2 


 发表于 2015-3-28 13:48:29


