TA的每日心情 | 奋斗
2016-4-25 13:46 |
|---|
签到天数: 1 天 连续签到: 1 天 [LV.1]初来乍到
|
只需要简单的几步,我们就可以在Pcduino上运行Arduino SPI LCD Shield了,以下是简单的方法演示步骤:
一、 在Linker Base Shield 上的连线方式如图1、2
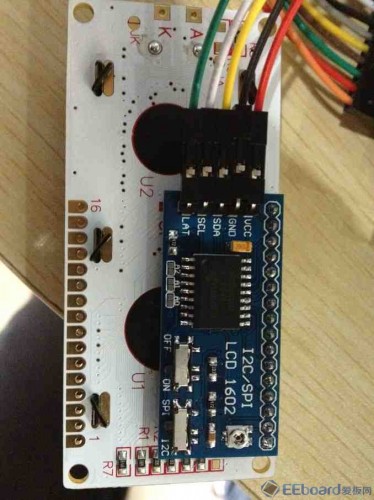
图1
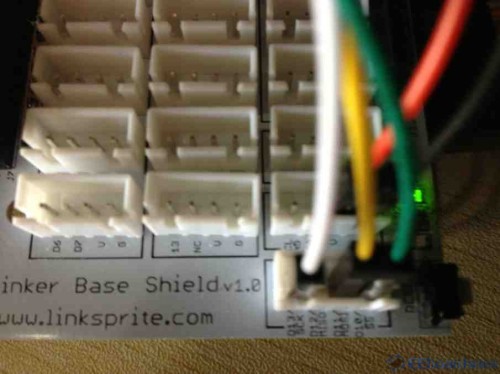
图2
二、线路连接好之后,打开LXTerminal,进入目录,如图3、4、5所示
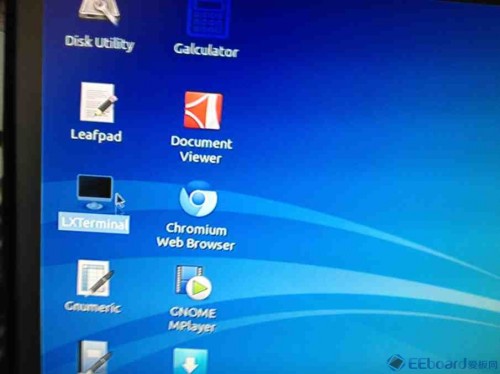
图3
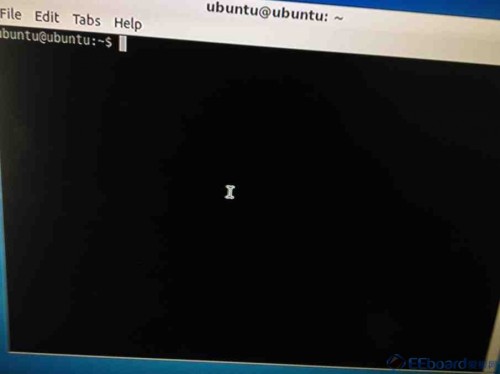
图4
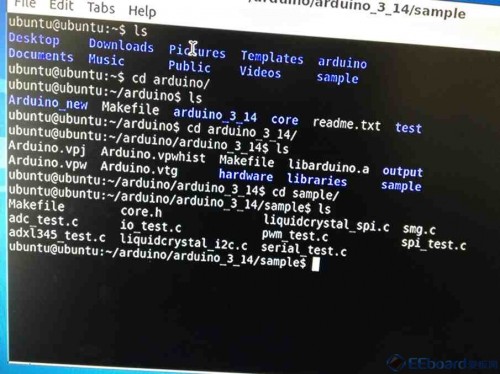
图5
三、打开代码,如图6
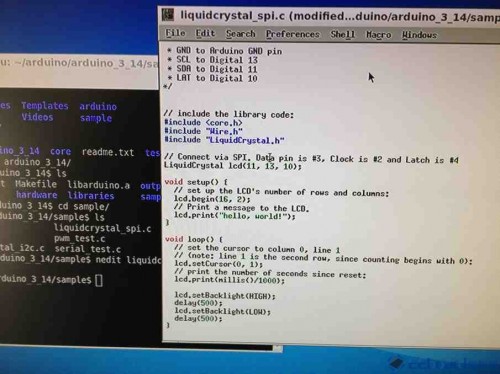
图6
四、代码打开成功之后,输入make进行编译,出现可执行文件,如图7所示

图7
五、运行代码,成功之后,Arduino SPI LCD Shield 就在你的Pcduino上完美试跑了如图8

图8
This sketch prints "Hello World!" to the LCD
and shows the time.
The circuit:
* 5V to Arduino 5V pin
* GND to Arduino GND pin
* SCL to Digital 2
* SDA to Digital 3
* LAT to Digital 4
*
/ include the library code:
#include <core.h>
#include "Wire.h"
#include "LiquidCrystal.h"
// Connect via SPI. Data pin is #3, Clock is #2 and Latch is #4
LiquidCrystal lcd(11, 13, 10);
void setup() {
// set up the LCD's number of rows and columns:
lcd.begin(16, 2);
// Print a message to the LCD.
lcd.print("hello, world!");
}
void loop() {
// set the cursor to column 0, line 1
// (note: line 1 is the second row, since counting begins with 0):
lcd.setCursor(0, 1);
// print the number of seconds since reset:
lcd.print(millis()/1000);
lcd.setBacklight(HIGH);
delay(500);
lcd.setBacklight(LOW);
delay(500);
} |
|


 发表于 2013-6-13 19:33:56
 /2
/2 
